InnoVersum X
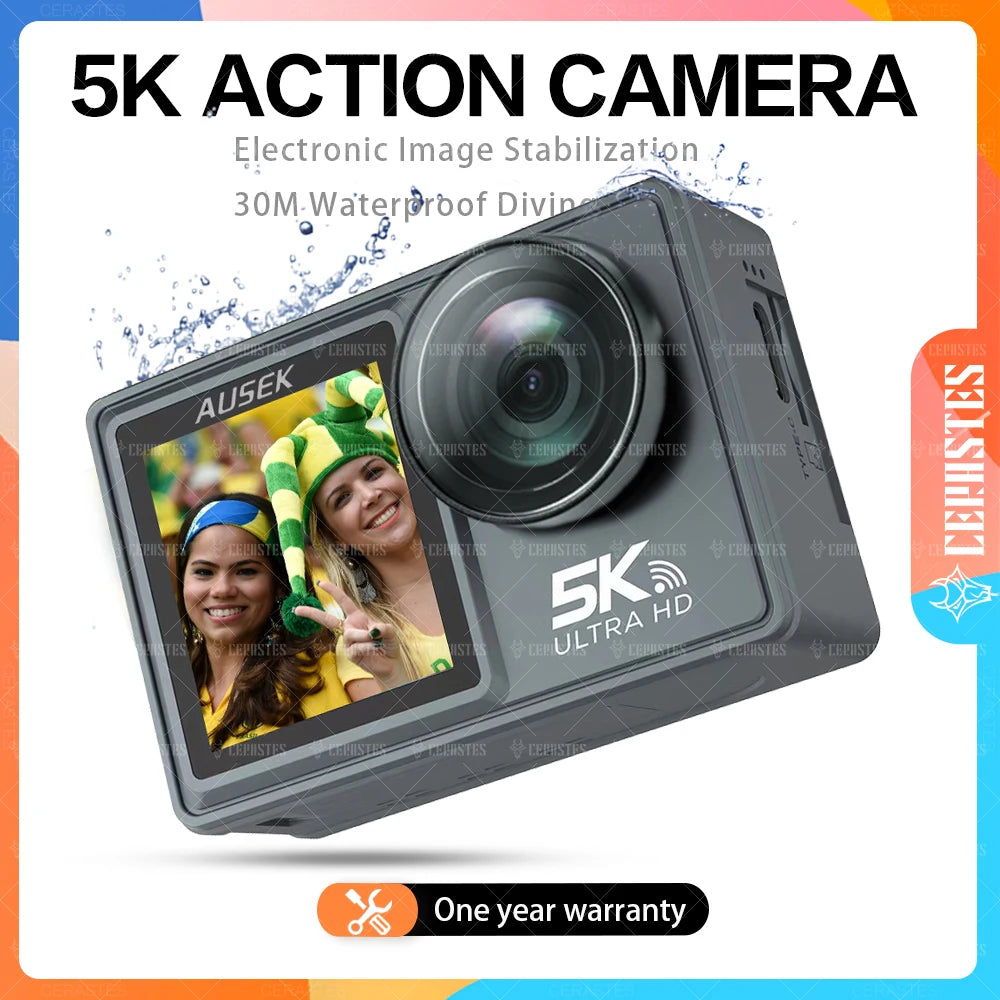
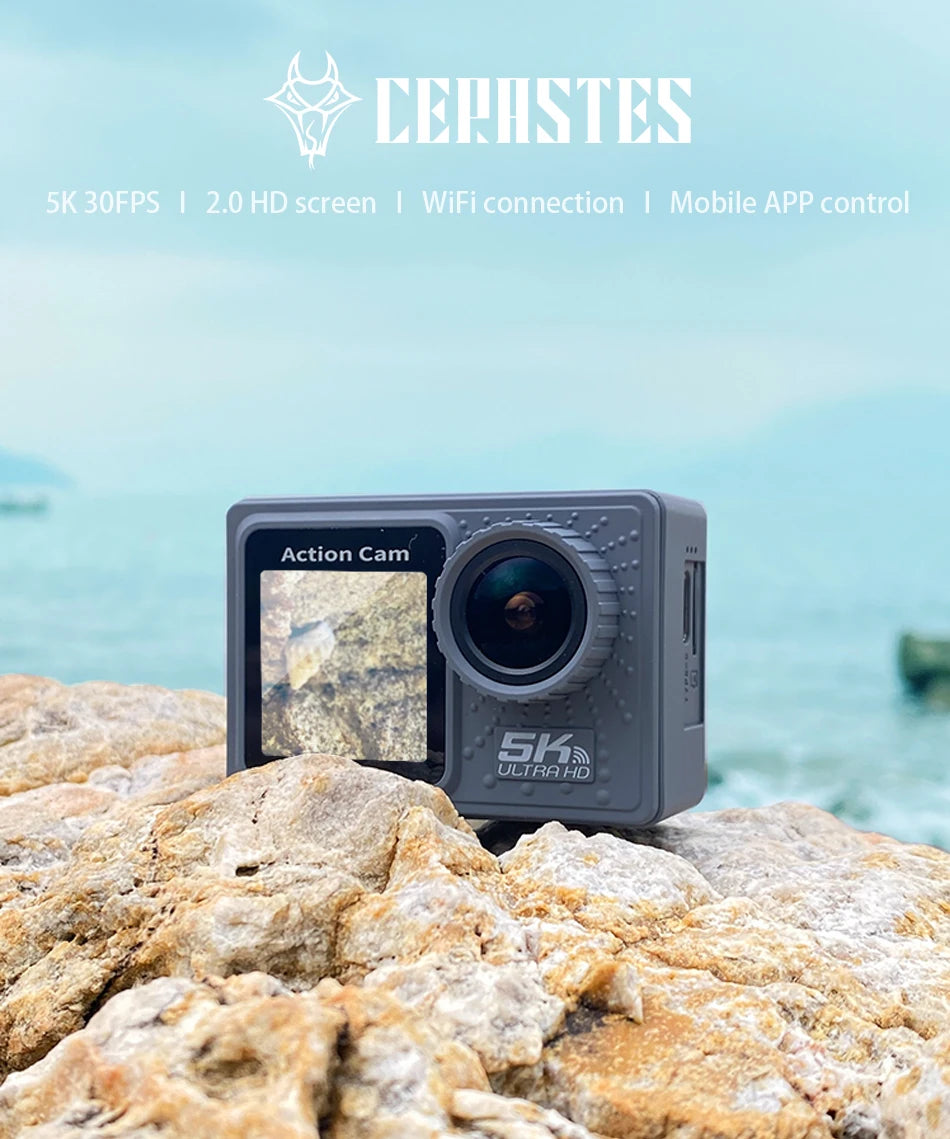
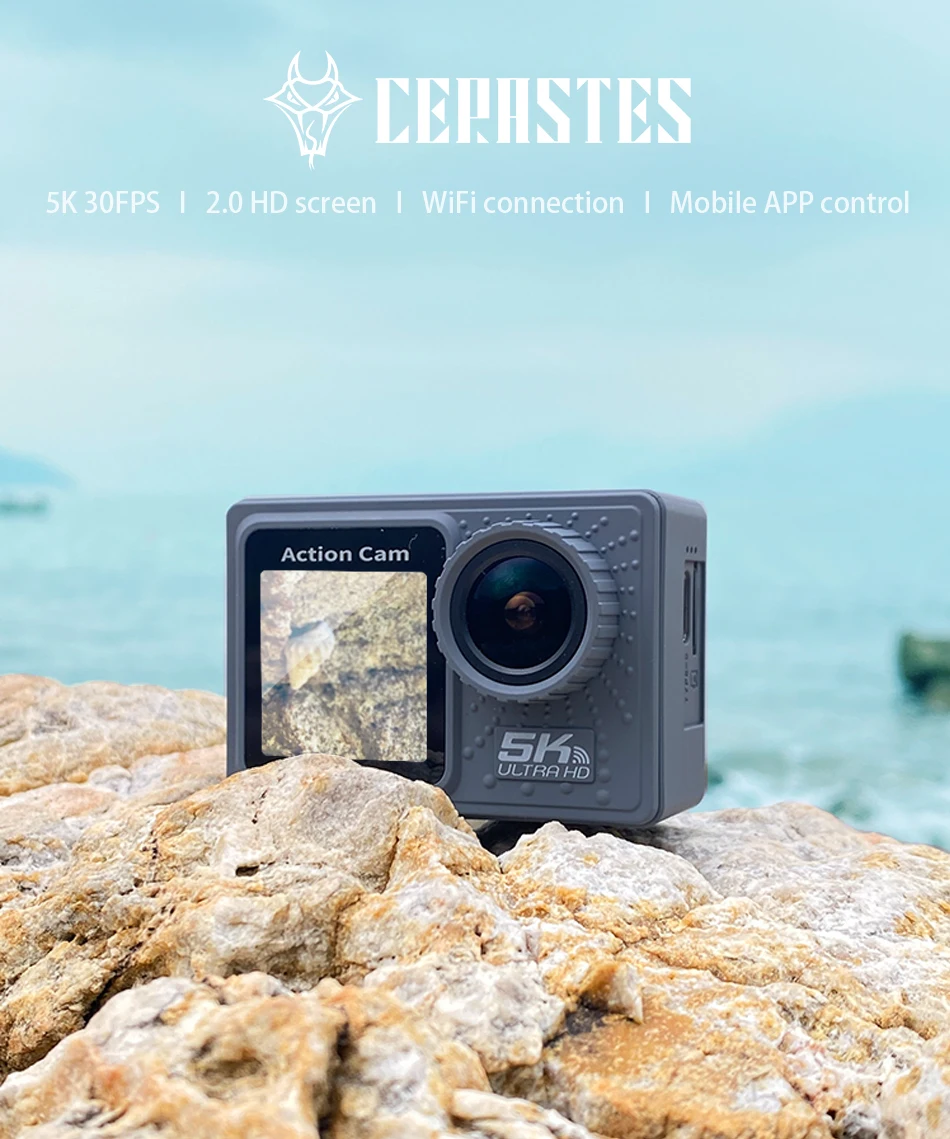
CERASTES 5K WiFi Anti-shake Action Camera 4K 60FPS Dual Screen 170° Wide Angle 30m Waterproof Sport Camera with Remote Control
CERASTES 5K WiFi Anti-shake Action Camera 4K 60FPS Dual Screen 170° Wide Angle 30m Waterproof Sport Camera with Remote Control
No se pudo cargar la disponibilidad de retiro
SPECIFICATIONS
Brand Name: cerastes
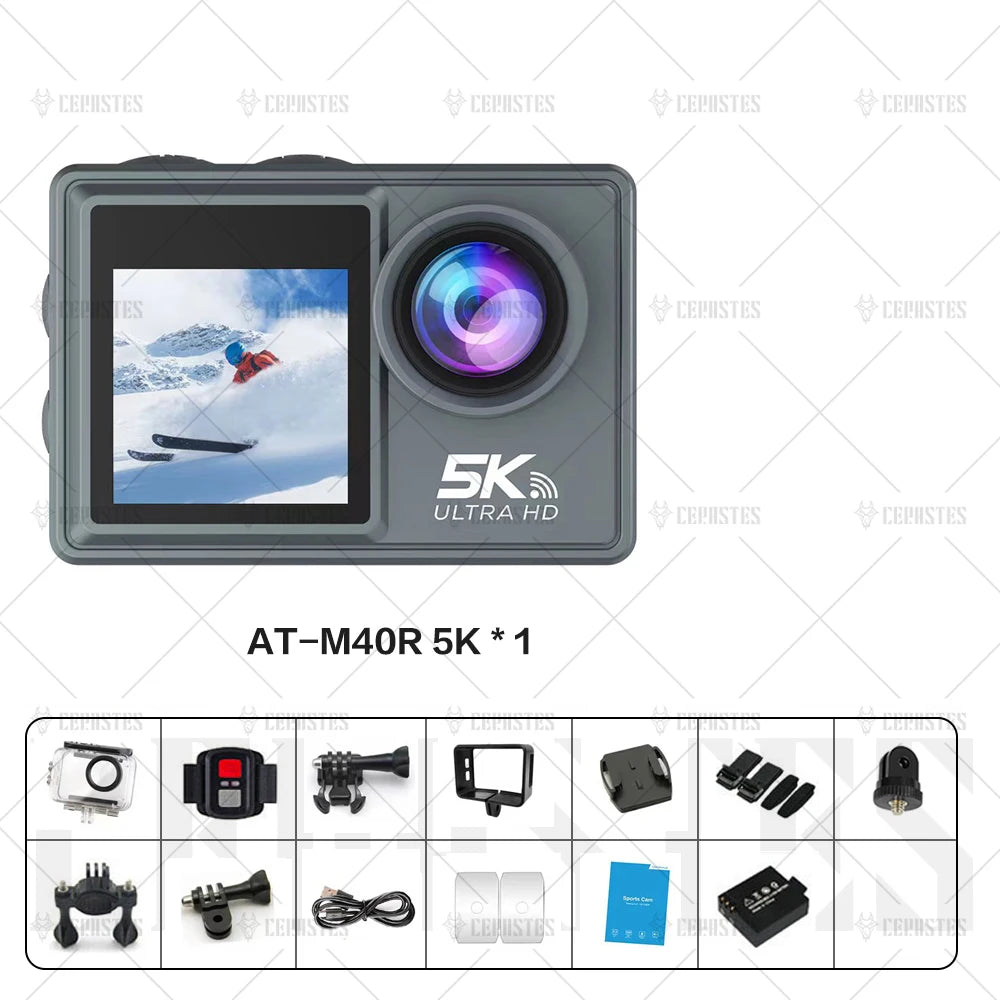
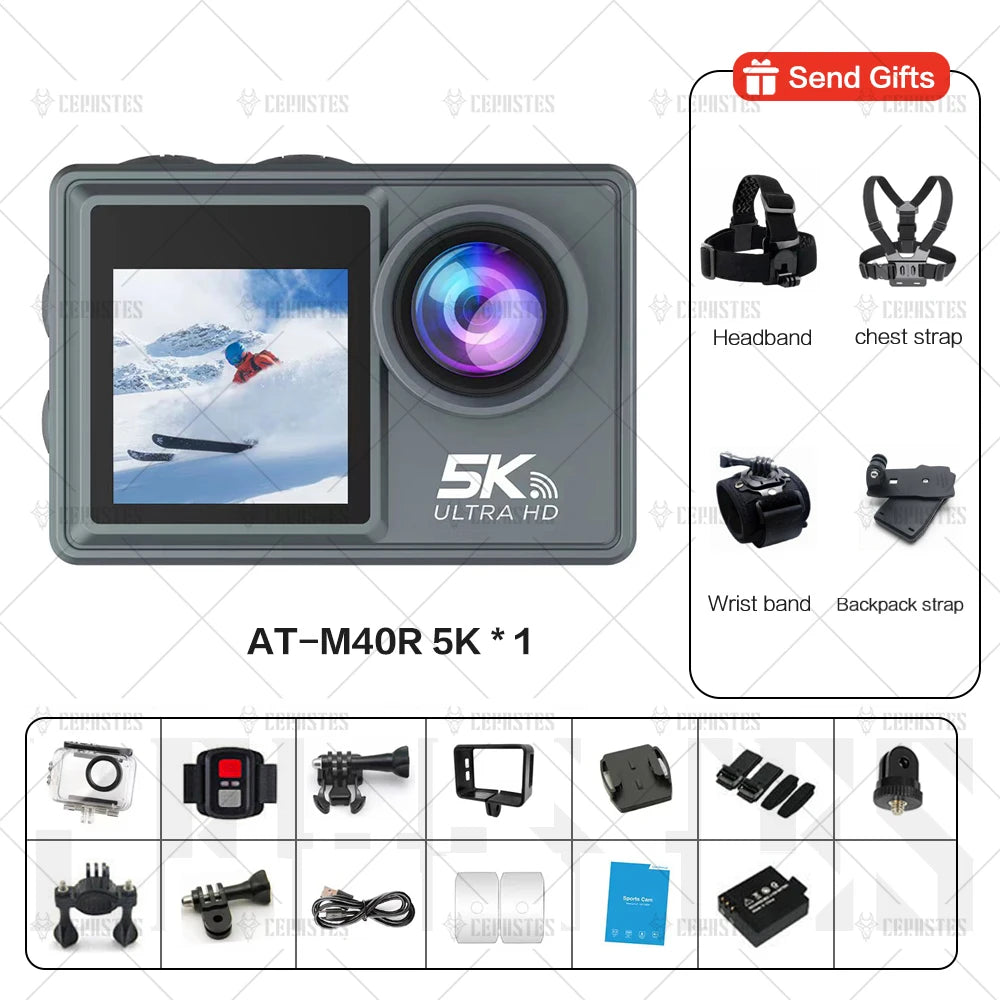
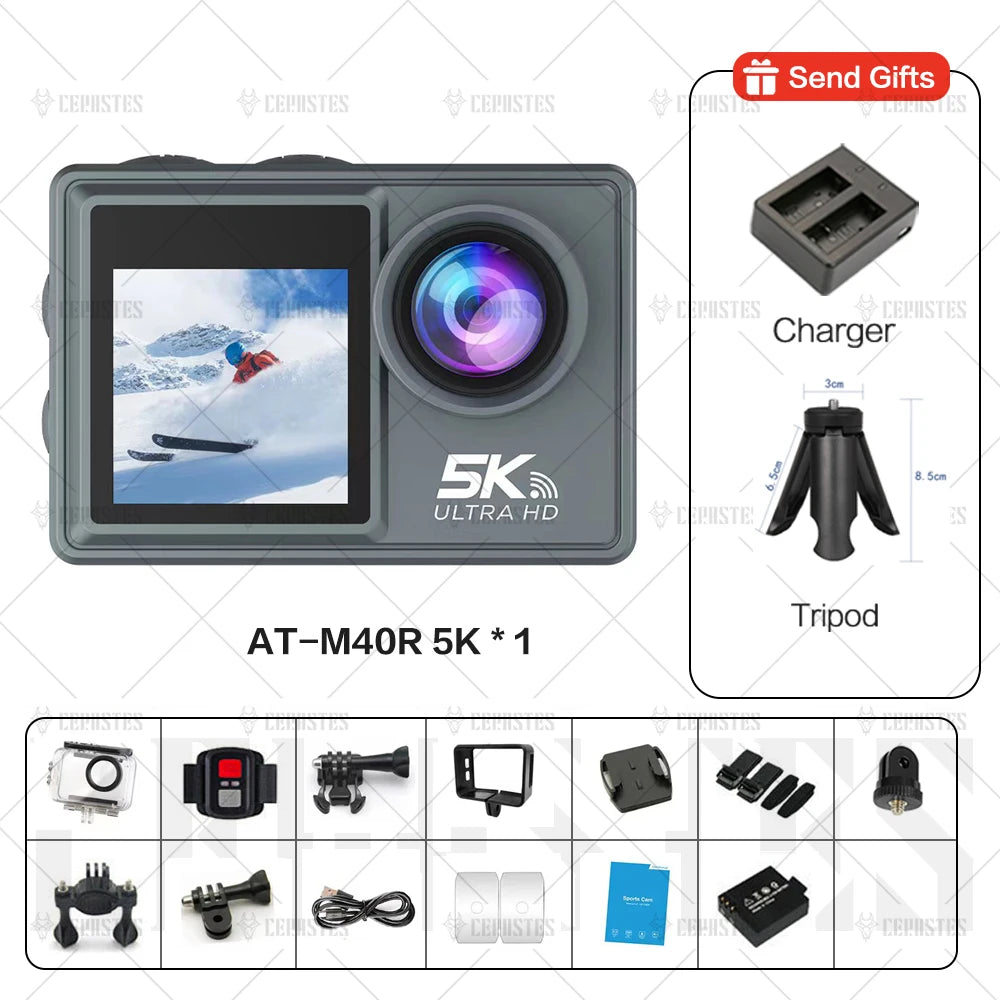
cerastes Model: AT-M40R
Image Sensor: Other SONY Series
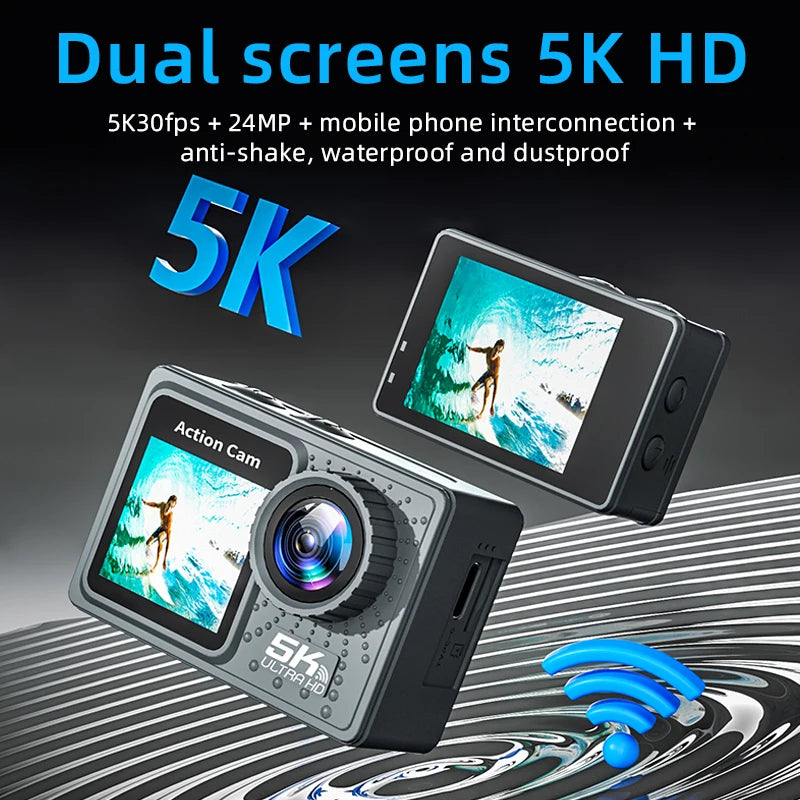
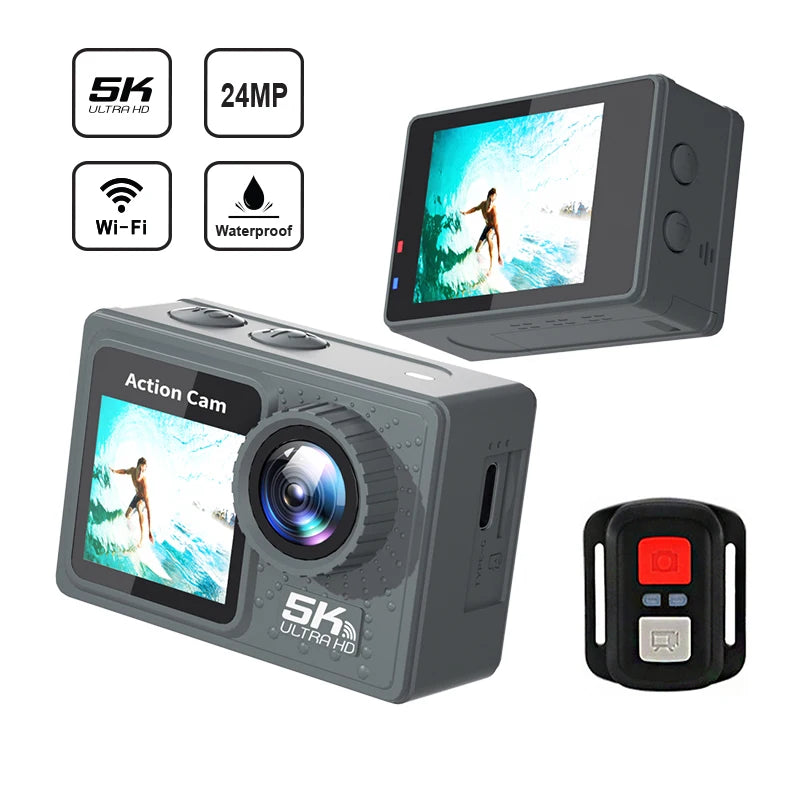
Effective MegaPixel: About 24MP
Origin: Mainland China
Supporting Language: japanese
Supporting Language: FRENCH
Supporting Language: german
Supporting Language: Spanish
Supporting Language: Portuguese
Supporting Language: Russian
Supporting Language: English
Supporting Language: SWEDISH
Supporting Language: POLISH
Supporting Language: KOREAN
Supporting Language: DUTCH
Supporting Language: Latin American Spanish
Supporting Language: Simplified Chinese
Supporting Language: Traditional Chinese Style
Main Processor ( Maximum HD Support): GP2
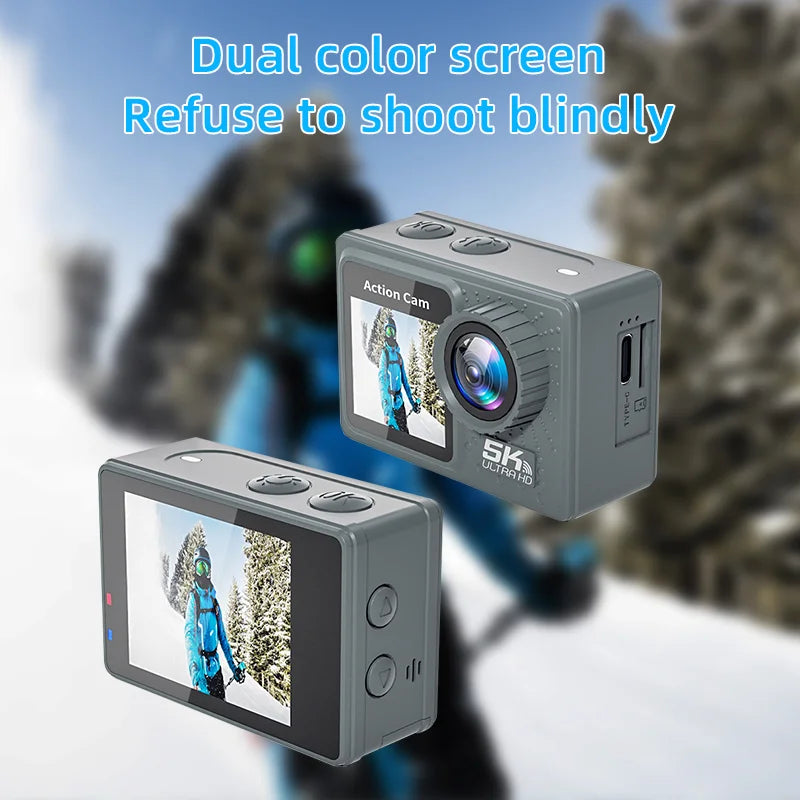
Display Screen: Yes
WIFI Support: Yes
Image Stabilization: Electronic Image Stabilization
Memory Card Type: MicroSD / TF
Certification: CE
NightShot Function: No
Removable/Replaceable Battery: YES
Battery Capacity: 900mAh
Bluetooth Support: No
Category: Sports & Action Video Cameras
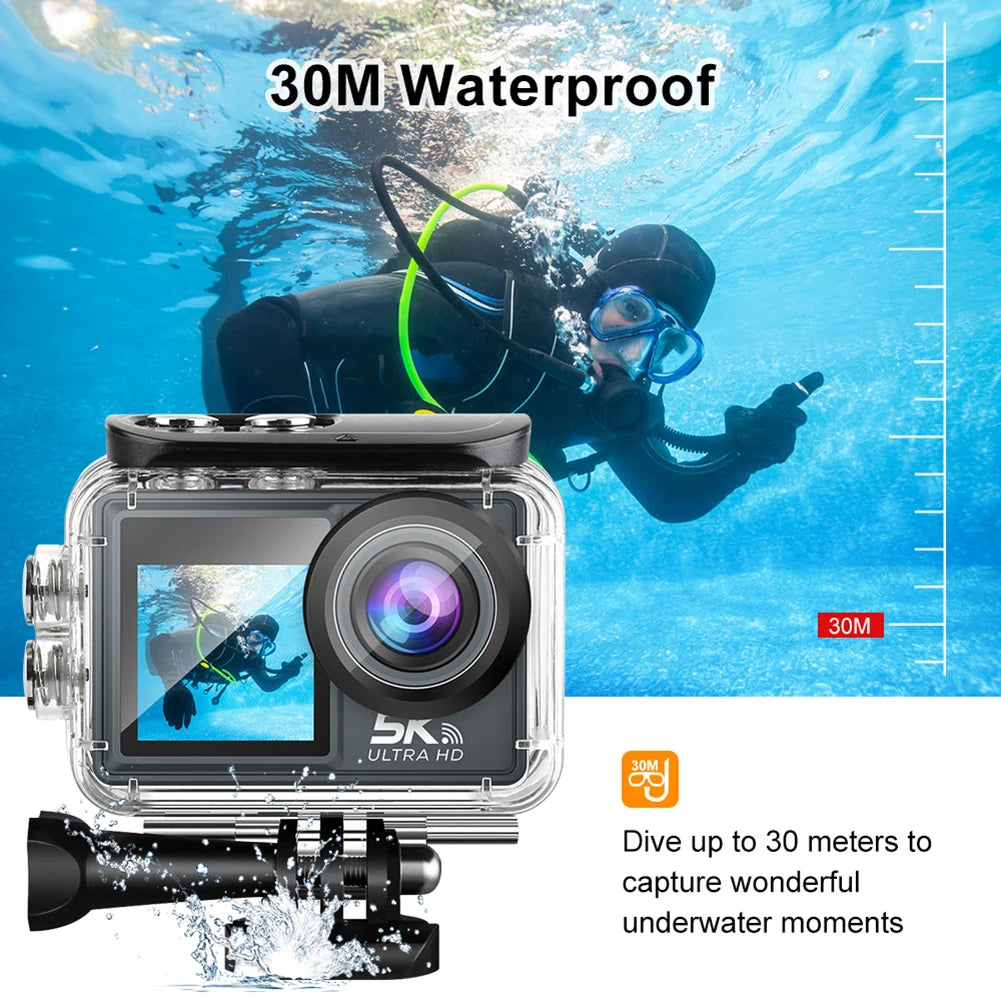
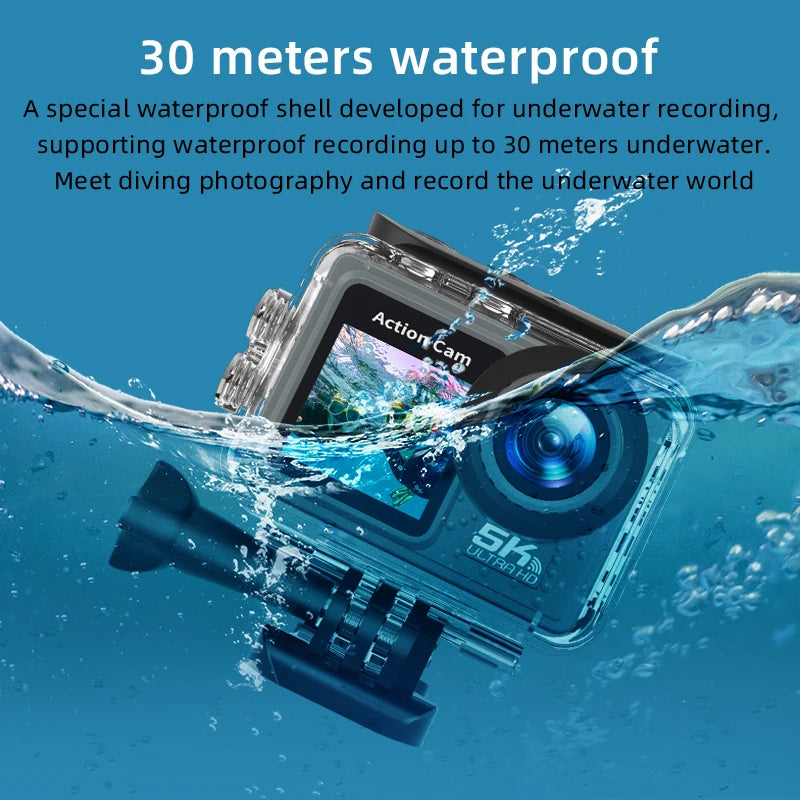
Max depth[m]: 30m
Touch Screen: no
HDMI-Compatible Output: no
Package: Yes
Memory Card Support: 128G
Sensor Size (inches): 1/2.3 inches
Application: For Home
Application: Outdoor Sport Activities
Application: Bicycle
Application: CAR DVR
Application: Diving
Application: Beginner
NFC Support: No
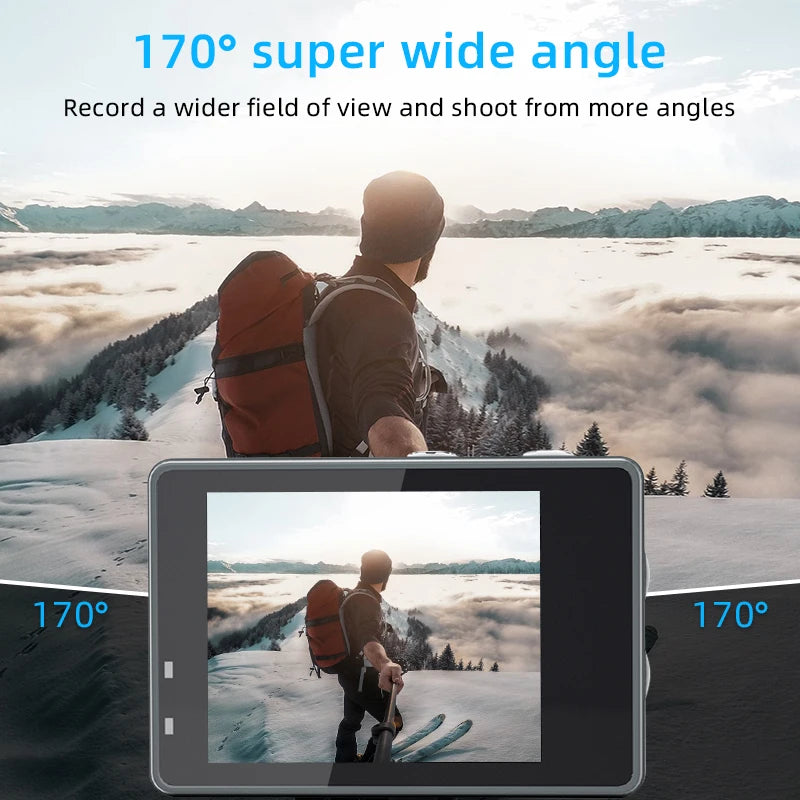
Wideangle: 170°
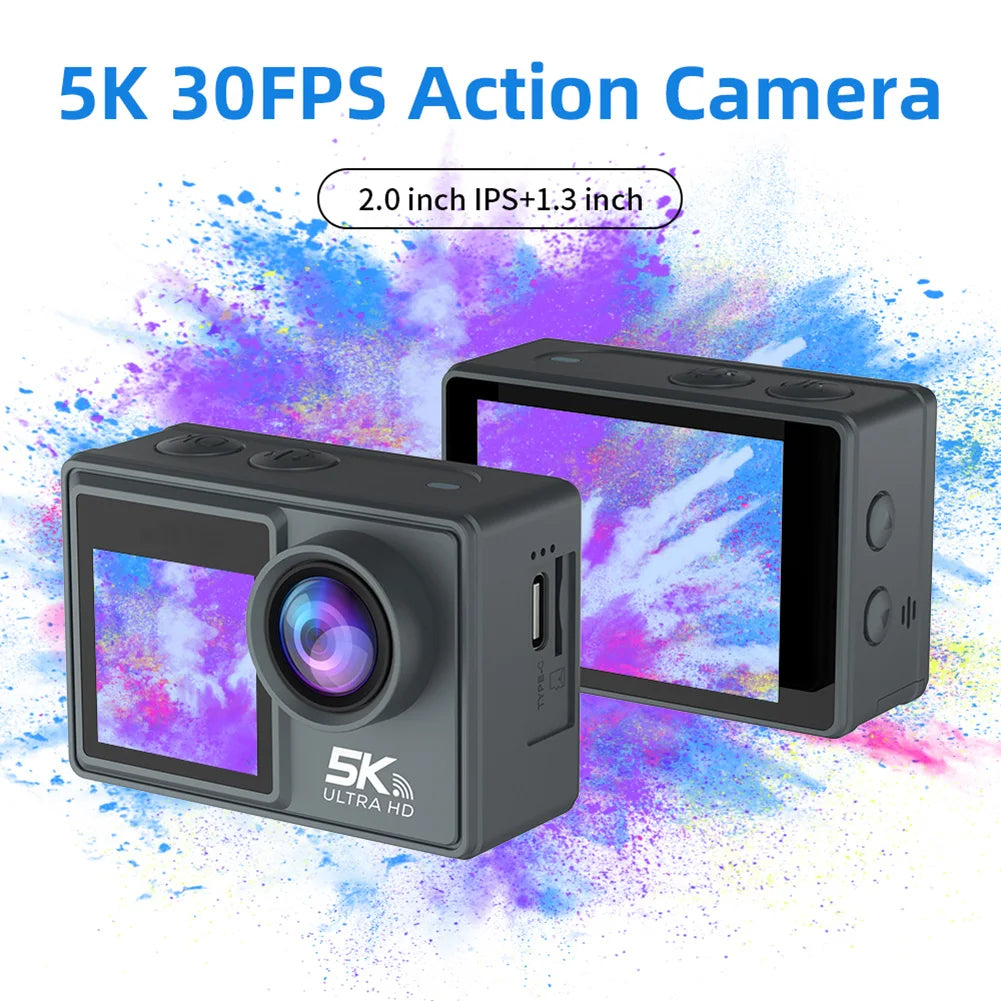
Display Size: 2.0"
Weight: 101g-150g
Input/Output: other
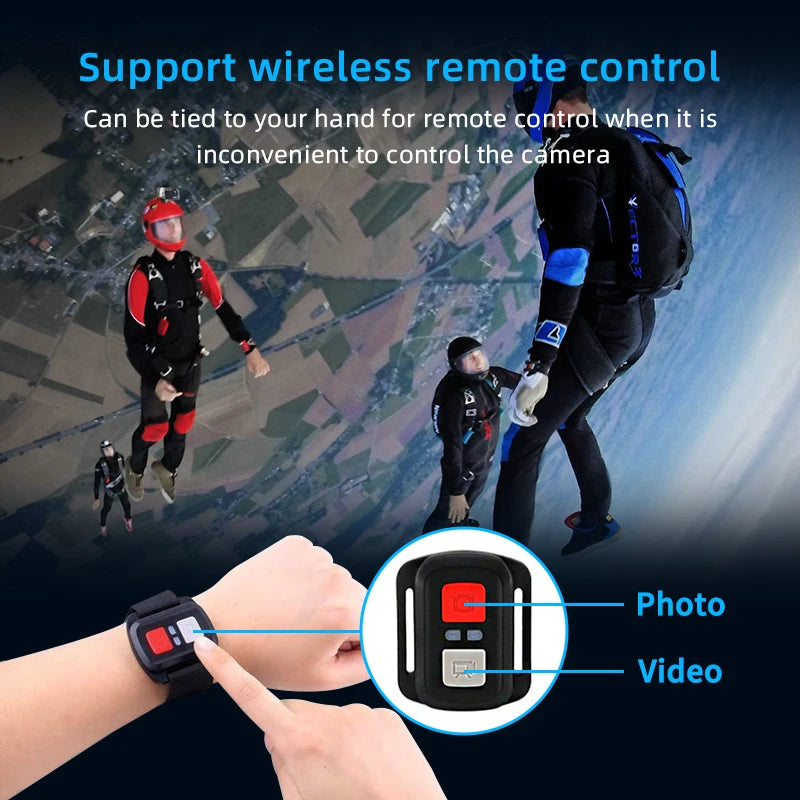
Remote Control Support: Yes
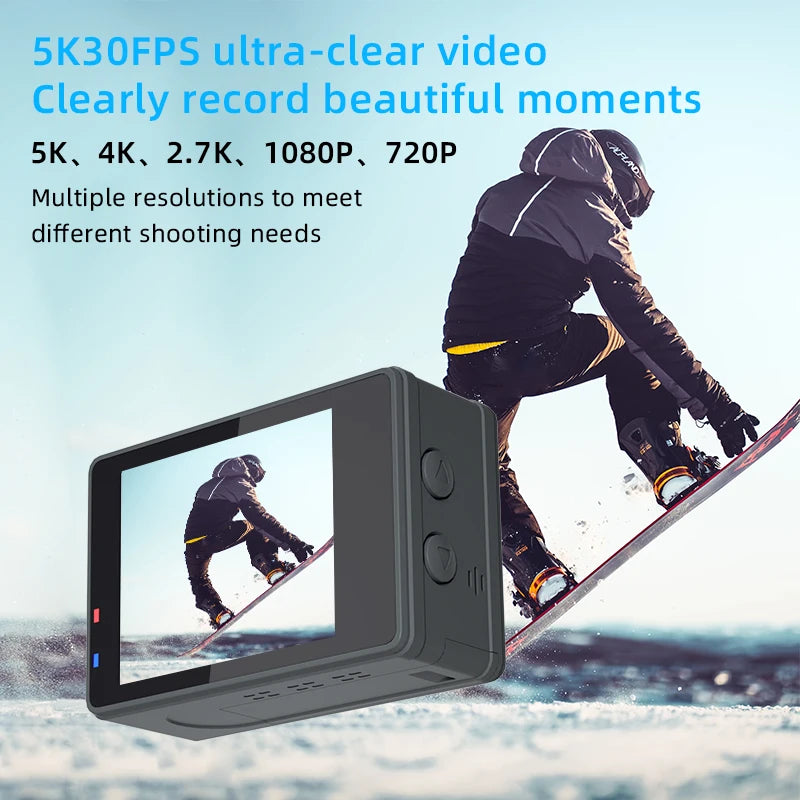
Video Resolution: 4k
Waterproof: Yes
Additional Function: Support WIFI
Video Format: MP4
Operating Temperature[°C]: -10°C / +55°C
Built-in Memory Size: Non
Choice: yes
semi_Choice: yes
Parameter:


Function introduction:
 Open guidance:
 Use operation instructions:
1. Insert Micro SD card
Note: Please select the brand MicroSD card, formatted on the computer and then use, ordinary neutral card can not guarantee the normal use of work.
2. Install and remove the battery
A. Pull the cover down can open the battery cover.
B. According the battery marked positive and negative symbols and arrows indicate direction, the correct battery into the camera until the installation is in place.
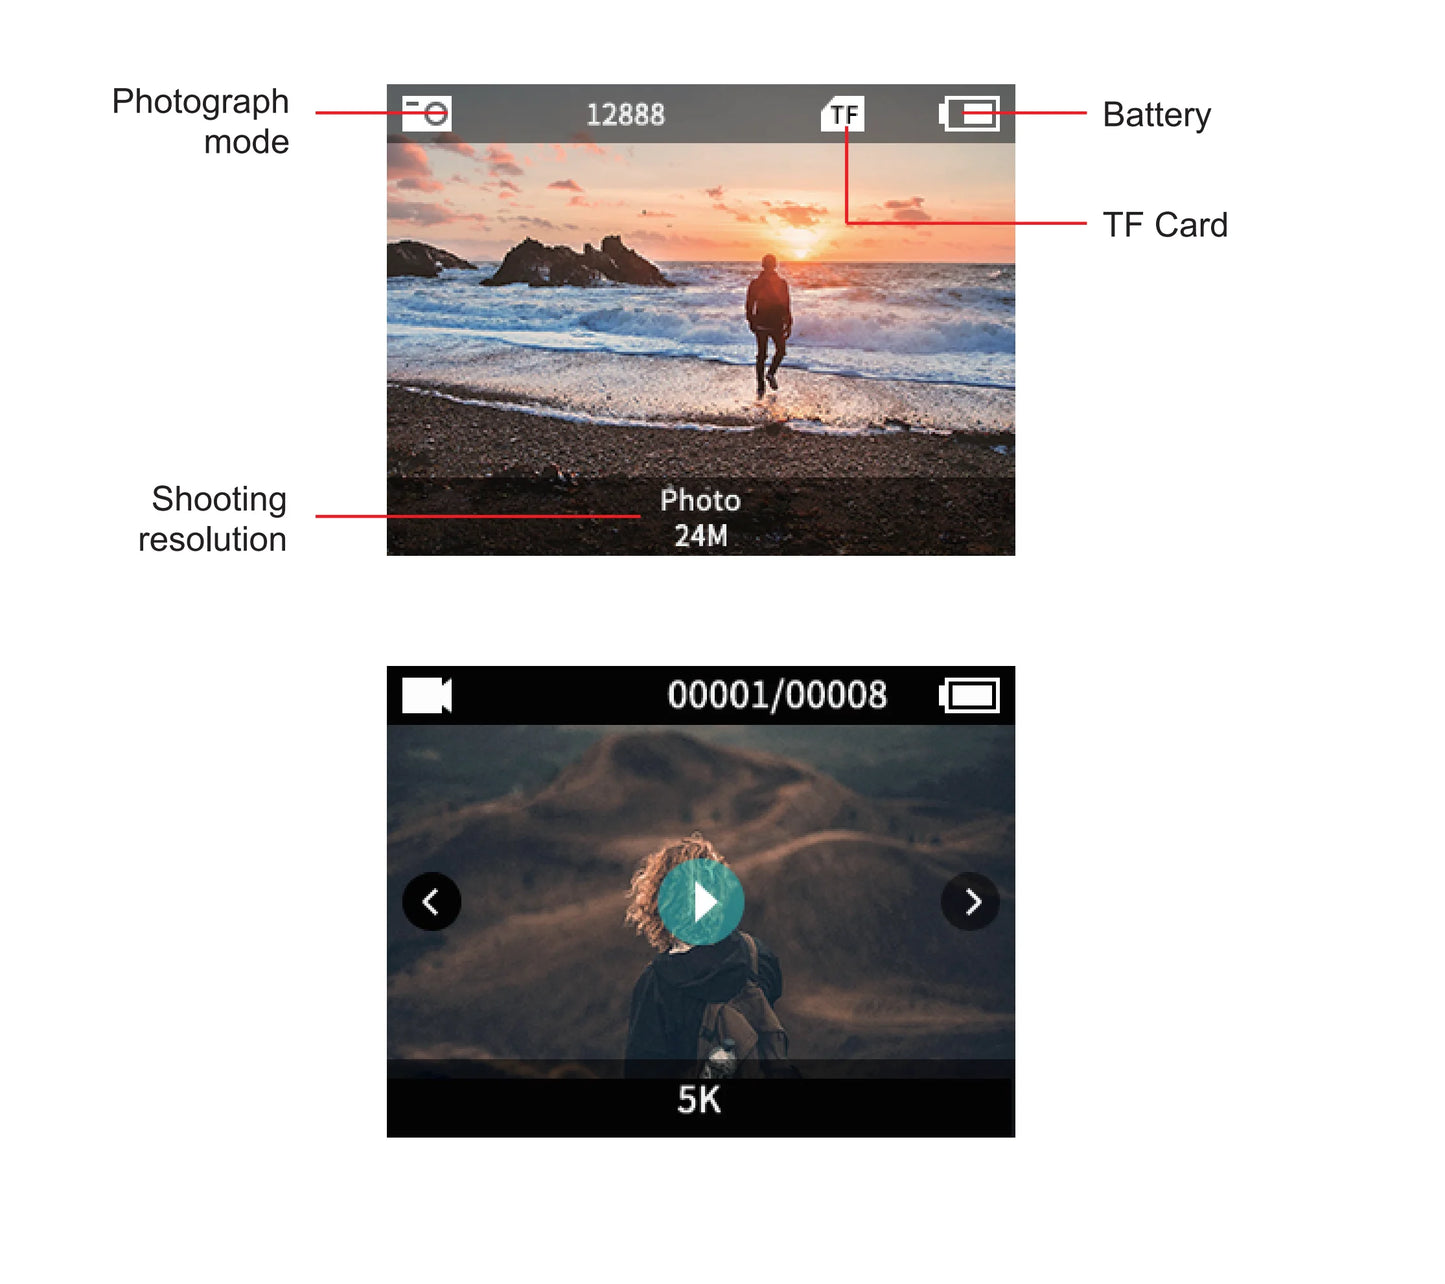
C. Battery power indicator: please refer to the icon.
D. Remove the battery, removed out of the battery after open battery cover.
3. Battery charging
A. With USB line connection to computer or power adapter, the camera can be charged.
B. Can charging while recording.
C. Shutdown state can also charge.
4. Camera on/off
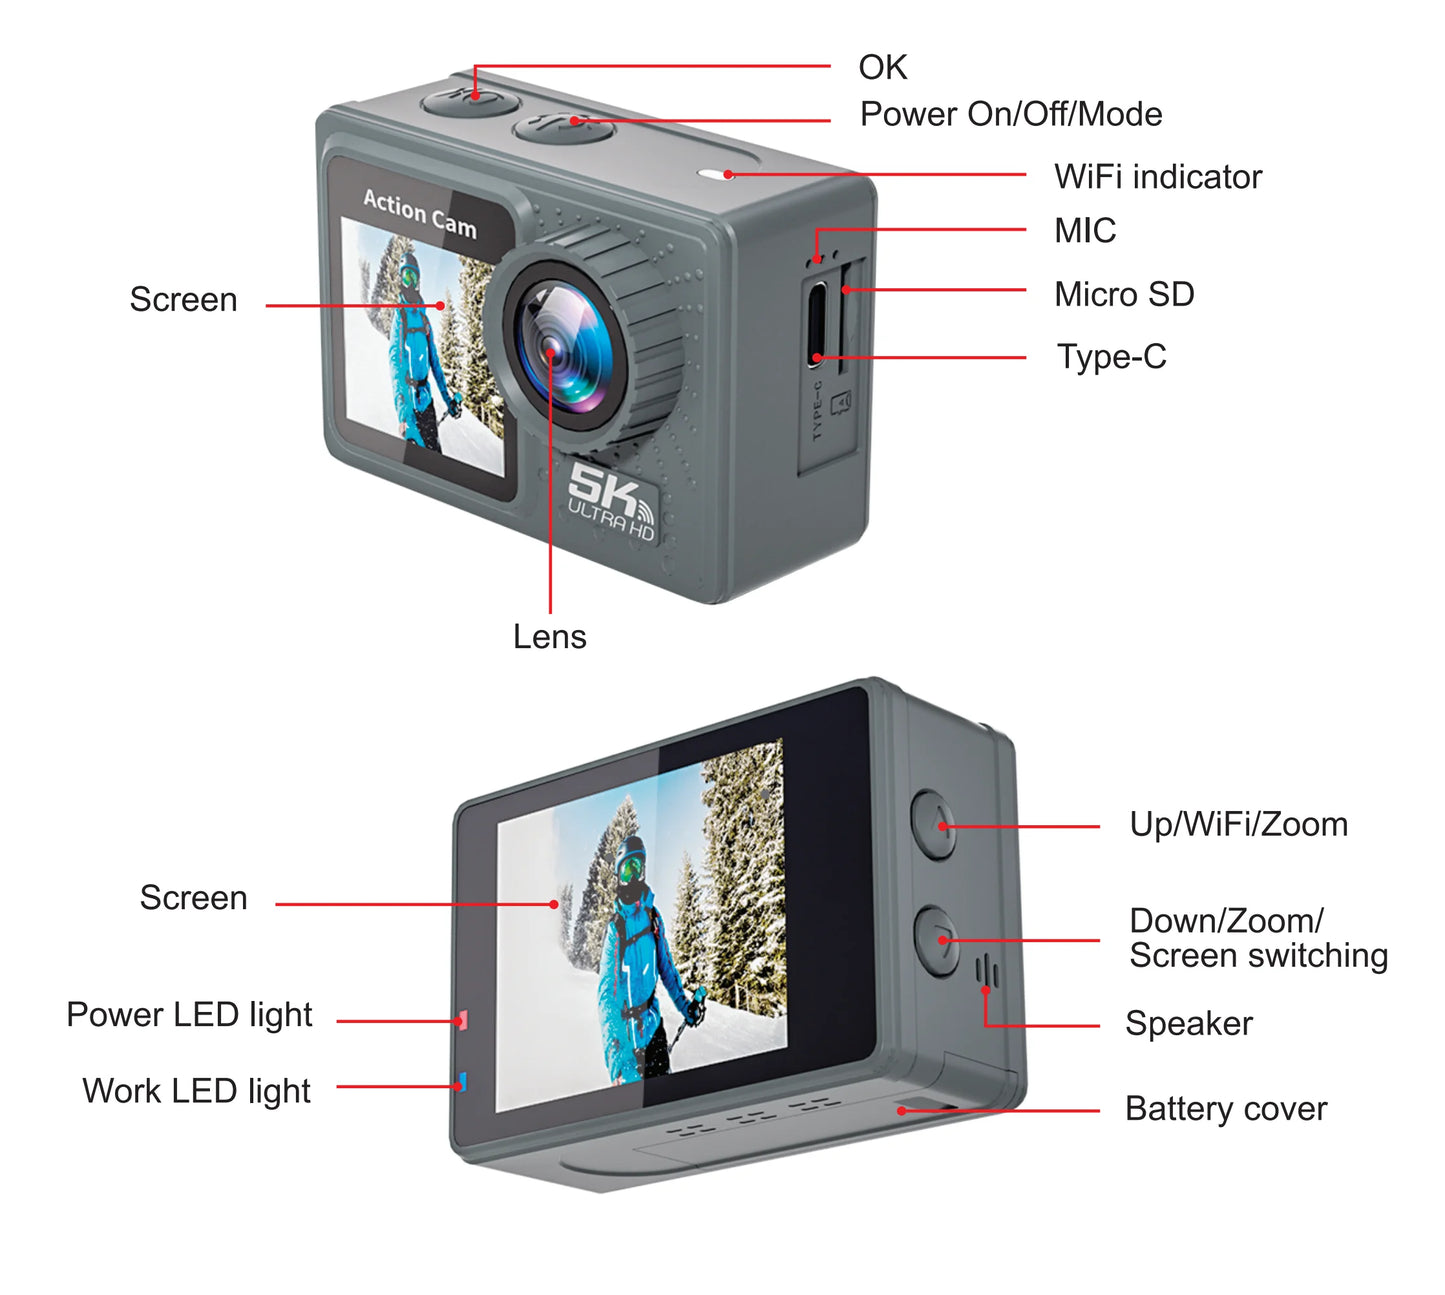
A. Long press and hold the boot key 3-5 seconds can turned on / off the camera
B. Open screen that boot, turn off the screen that is off.
5. Turn WiFi on/off
Turn on WIFI: Long press the UP button to open WiFi.
Turn off WIFI: Short press the UP button to turn off WiFi.
6. Mode conversion(mode)
After booting up, short press on/off key. You can switch between recording/photographing.
7. Indicator light
Work indicator light: Blue light, flashing during operation; After the work is completed, the blue light remains on.
When turning on WiFi, the blue light flashes; After WiFi connection, the blue light remains on.
Charging indicator light: Red light, always on during charging, fully charged, red light off.
8. How to set photography and photography options
a. Recording: The camera enters recording mode and presses the confirm button to start recording. At the same time as recording,
the symbol above the screen flashes, and then press the confirm button to stop recording, At the same time, the sign
stops flashing.
Recording mode: Video, Slowly(1080P 4X/1080P 2X/720P 8X/720P 4X), Loop(2 Min/3 Min/5 Min), Lapse(0.5 Sec/1 Sec/2 Sec/
5 Sec/10 Sec/30 Sec/60 Sec).
b. Turn on the power for the camera and camera settings, enter the mode button to select the camera mode, and when
there is a camera icon in the upper left corner of the screen, enter the camera mode at this time, and press the confirm
button to take a photo.
Photo mode: Photo, Auto(3 Sec/10 Sec/15 Sec/20 Sec/30 Sec), Burst(3P/s, 5P/s, 10P/s), Timer(3 Sec/5 Sec/10 Sec/20 Sec).
C. Store, play, and delete
After the video recording is completed, use the data cable to copy the recorded video to the computer for playback, or take out the
memory card and use the card reader to read the image data in the card.
File deletion: In the file playback interface, long press the OK key to delete a single file.
9. Switch between large and small screens
Long press the key to switch the screen size (dual screens cannot be displayed at the same time)
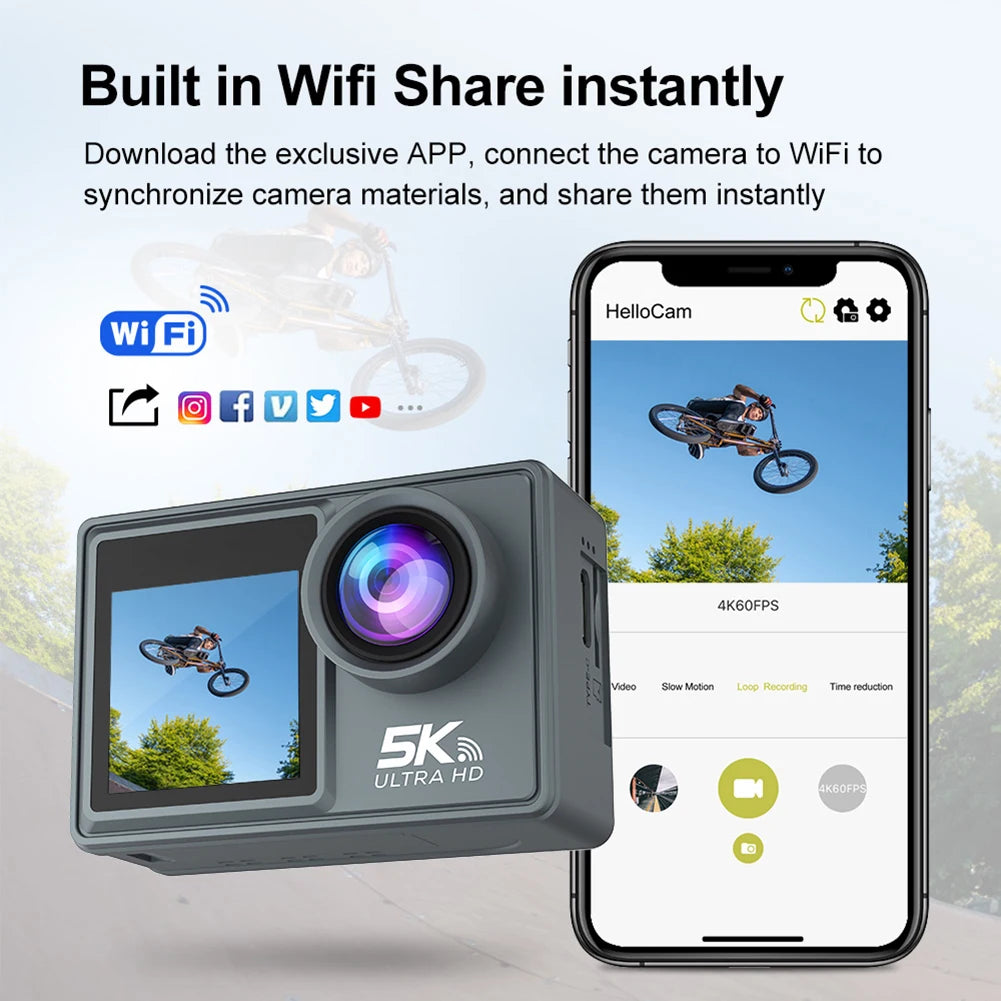
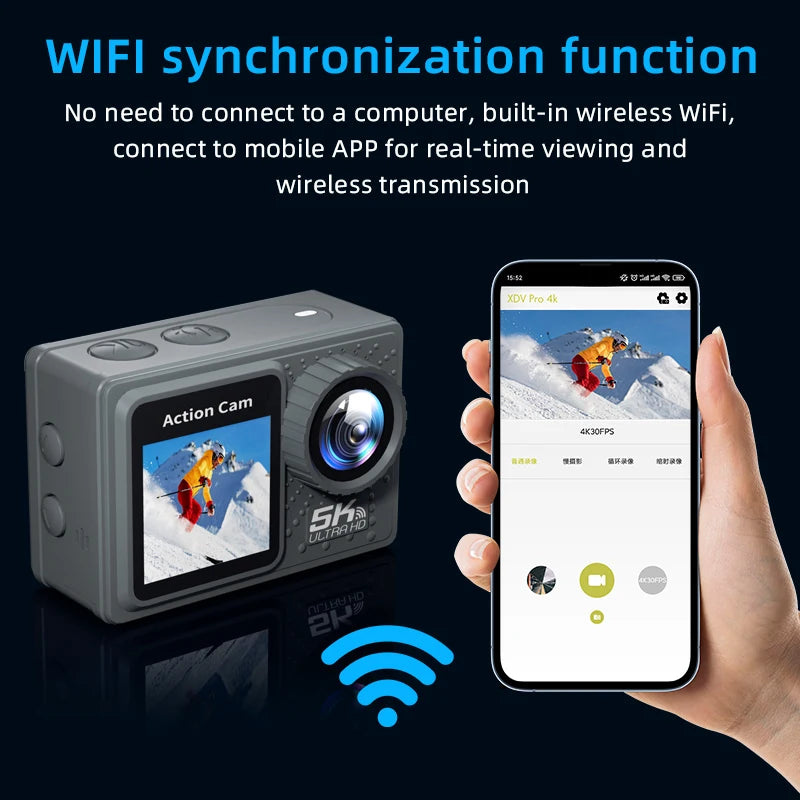
10. WiFi install and use
Before use the WiFi function, please download and install the application “ XDV PRO ”on your smart phone.
Note:earch “XDV PRO” from app store for lOS; Search“ iSmart DV2 "from Android Play Store for android.
Steps to connect WiFi.
A. After powering on, long press the up button to open WiFi, and the screen will display "WiFi Information"
B. Open the WiFi on your phone, searching the wif SSID" X17-******" and connect (the original password is
1234567890):
C. Open “XDV PRO” APP program ,with the APP, you can real-time preview is shooting pictures, remote video, photos,
fileplayback / download / delete / share.
D. APP install guide, the phone system requires Android 4.1 and above or lOS7 or above, scan the “XDV PRO” APP twodimensional code, press the prompts to complete the installation.
Search“XDV PRO”from App Store for IOS
Search“XDV PRO”from Android Play Store for android

Share
